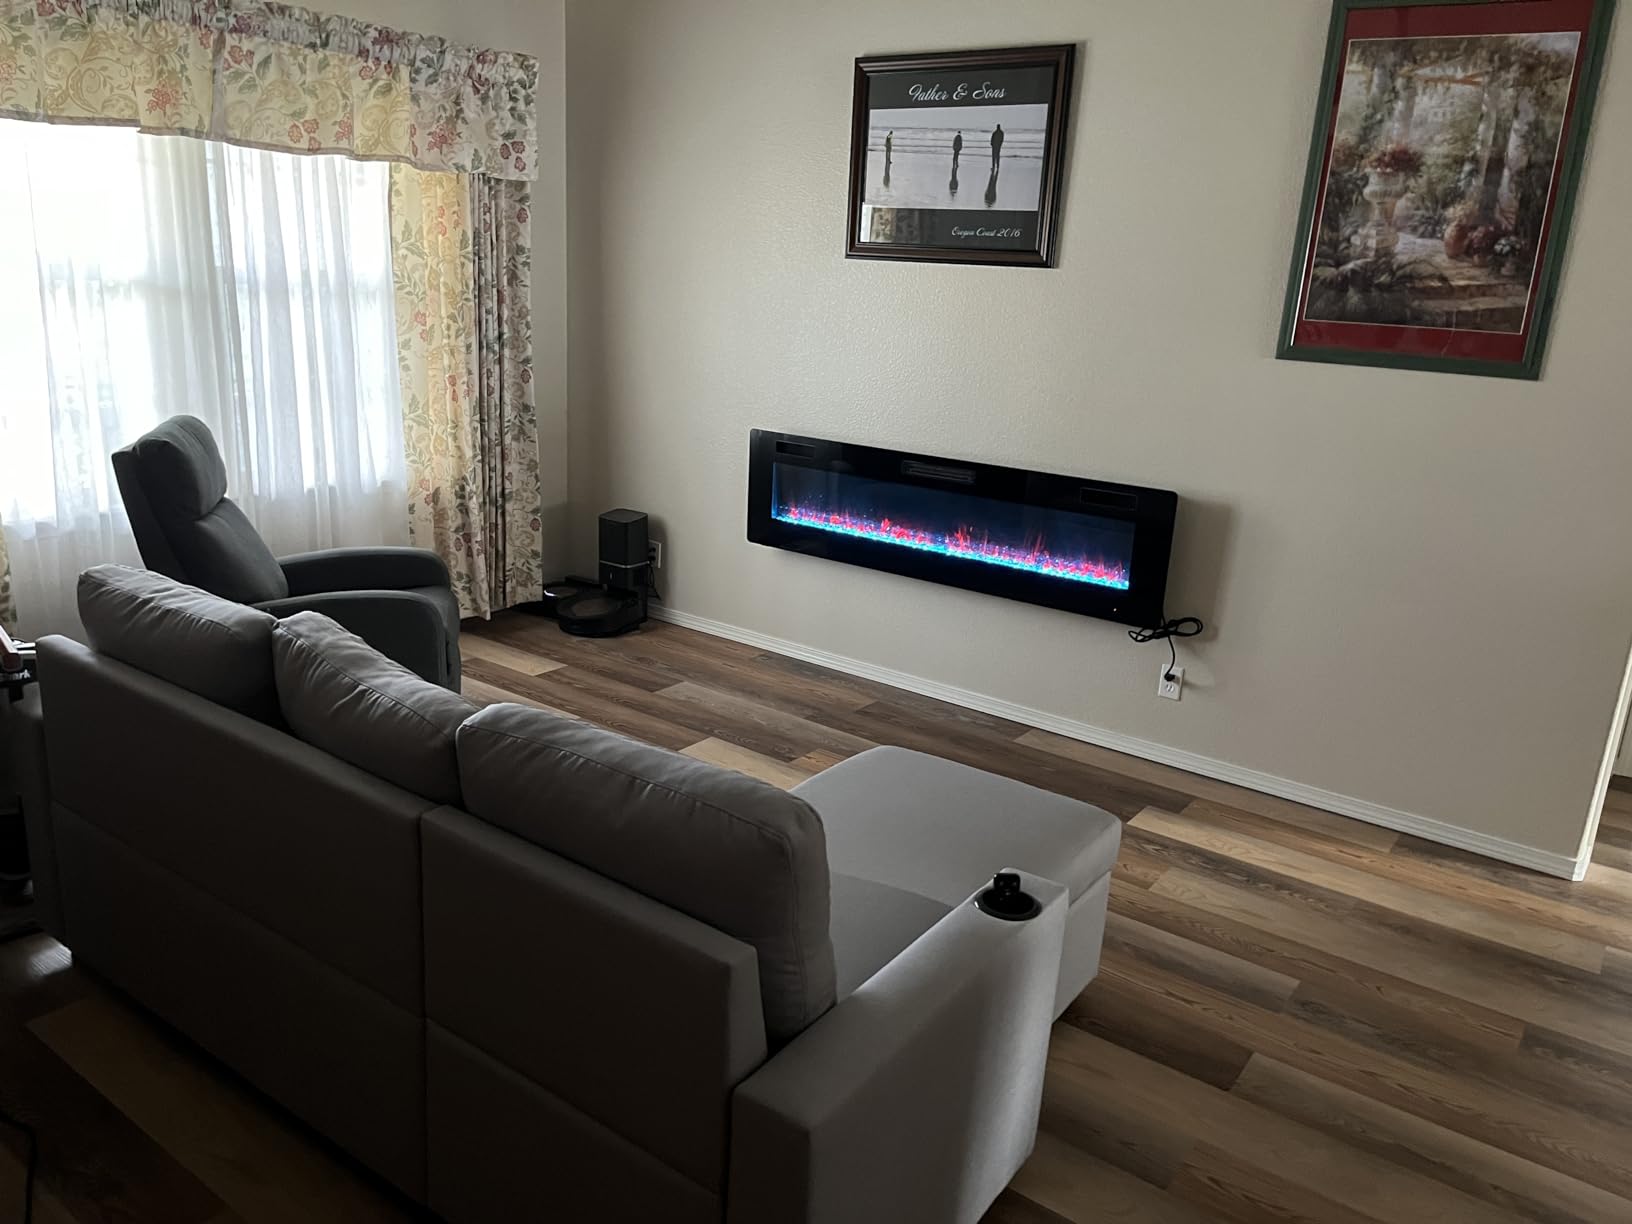
Installing an electric fireplace is a fantastic way to add warmth, style, and ambiance to your home without the hassle of a traditional wood-burning or gas fireplace. R.W.FLAME electric fireplaces are designed for easy installation, making them a perfect choice for any room. Whether you’re a DIY enthusiast or a first-time installer, this guide will walk you through the process step by step.
Why Choose an R.W.FLAME Electric Fireplace?
Before diving into the installation process, it’s important to understand why R.W.FLAME electric fireplaces stand out. Known for their sleek designs, energy efficiency, and advanced features, these fireplaces are ideal for both modern and traditional spaces. They provide the beauty of a real flame without the mess, making them a practical and stylish heating solution.
What You’ll Need:
- R.W.FLAME Electric Fireplace
- Tape Measure
- Level
- Drywall Anchors (included in the package)
- Screws
- Screwdriver or Drill
- Pencil
- Power Outlet (within reach of the fireplace)
Step 1: Choose the Perfect Location
The first step in installing your R.W.FLAME electric fireplace is deciding where you want to place it. Consider the following:
- Proximity to an Electrical Outlet: Make sure the fireplace can be plugged into a nearby outlet without the need for an extension cord.
- Room Size and Layout: Choose a location that allows the fireplace to be a focal point in the room, whether it's on a wall, in a corner, or as part of an entertainment center.
- Height and Viewing Angle: Install the fireplace at eye level when seated for the best visual effect.
- Space for a TV Above the Fireplace: If you plan to install a TV above the fireplace, be sure to leave a space of at least 12 inches between the top of the fireplace and the bottom of the TV. This ensures proper heat dissipation and maintains a safe distance between the two appliances.
Step 2: Uninstall the Mounting Bracket from the Fireplace
Before you can mount the fireplace to the wall, you'll need to uninstall the mounting bracket, which comes attached to the fireplace. Follow these steps:
- Lay the Fireplace on a Soft Surface: Place the fireplace face down on a soft, flat surface like a blanket or carpet to avoid scratching the front.
- Remove the Screws: Using a screwdriver, carefully remove the screws that are holding the mounting bracket to the back of the fireplace.
- Detach the Bracket: Once the screws are removed, lift the bracket off the fireplace and set it aside.
Step 3: Measure and Mark the Wall
Use a tape measure to determine the exact placement of your electric fireplace. Mark the wall where the top of the fireplace will be. Next, use a level to ensure your markings are straight. If you’re installing the fireplace on a wall, locate the studs with a stud finder. Mark the stud locations as these will be the most secure points to anchor your fireplace.
Step 4: Install the Mounting Bracket on the Wall
Now that the bracket is removed from the fireplace, you can install it on the wall:
- Align the Bracket: Position the bracket on the wall where you’ve made your marks. Ensure it’s level.
- Secure the Bracket: Using your drill or screwdriver, attach the bracket to the wall. If you’re not screwing into a stud, use drywall anchors to provide additional support.
Step 5: Attach the Fireplace to the Bracket
Once the mounting bracket is securely in place:
- Lift the Fireplace: With assistance if needed, lift the R.W.FLAME electric fireplace and align it with the mounting bracket.
- Secure the Fireplace: Gently place the fireplace onto the bracket, ensuring it clicks or locks into place. Some models may require additional screws to fully secure the unit to the bracket.
Step 6: Install the Glass Panel
With the fireplace securely mounted, it’s time to install the glass panel:
- Unpack the Glass Panel: Carefully remove the glass panel from its packaging and inspect it for any damage.
- Align the Glass Panel: Position the glass panel in front of the fireplace, aligning it with the designated slots or brackets on the unit.
- Secure the Glass Panel: Gently slide the glass panel into place, ensuring it’s properly seated and secure. Some models may require additional screws or clips to hold the glass in place.
Step 7: Plug It In and Test
With your fireplace mounted, the final step is to plug it into the electrical outlet. Before you do this, double-check that all screws are tight and the unit is secure on the wall.
- Plug In the Fireplace: Connect the power cord to the outlet.
- Turn It On: Use the remote control or the on-unit buttons to power on the fireplace.
- Test All Features: Test the heat settings, flame brightness, and any additional features to ensure everything is functioning correctly.
Step 7: Final Touches
After ensuring your R.W.FLAME electric fireplace is working perfectly, you can add finishing touches to enhance its appearance in your space:
- Decorative Elements: Consider adding a mantel, surround, or built-in cabinetry around the fireplace to complement your room’s décor.
- Cable Management: Use cable covers or hide the power cord within the wall for a cleaner look.


